IPod Speakers
Design Brief
Students are to produce a Recycled and Non Recycled Speaker box which will demonstrate a range of knowledge and key skills. Students will research the process of laser cutting, explore social and cultural trends and develop a theme which will influence their design. Students will refine their design through prototyping and testing before producing their final end-product using Computer aided design and Laser Cutting. A portfolio will be produced which documents development throughout the project.
Students are to produce a Recycled and Non Recycled Speaker box which will demonstrate a range of knowledge and key skills. Students will research the process of laser cutting, explore social and cultural trends and develop a theme which will influence their design. Students will refine their design through prototyping and testing before producing their final end-product using Computer aided design and Laser Cutting. A portfolio will be produced which documents development throughout the project.
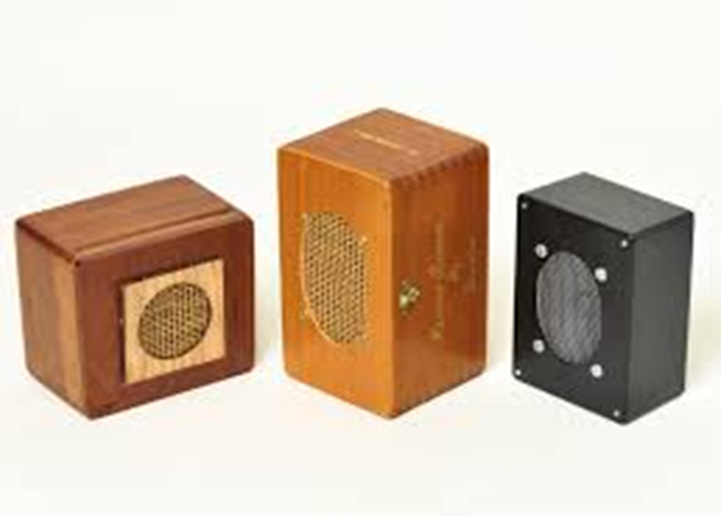
Recycled Ipod Speakers
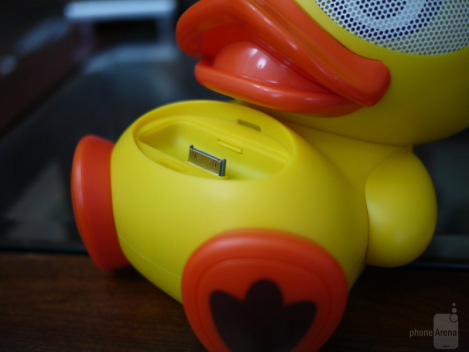
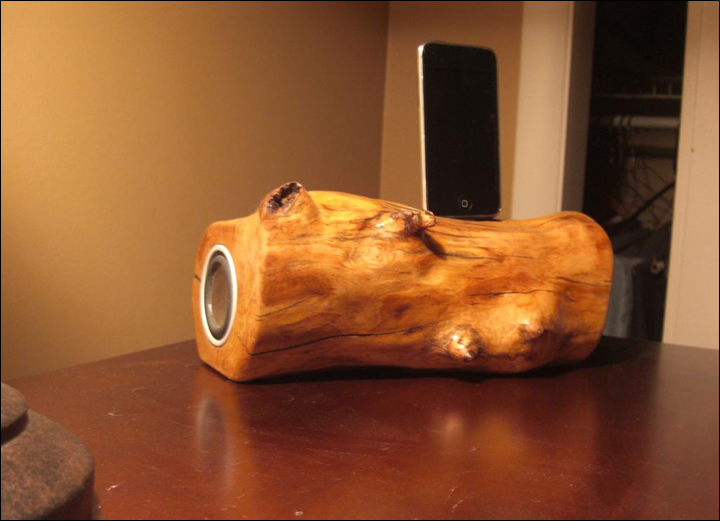
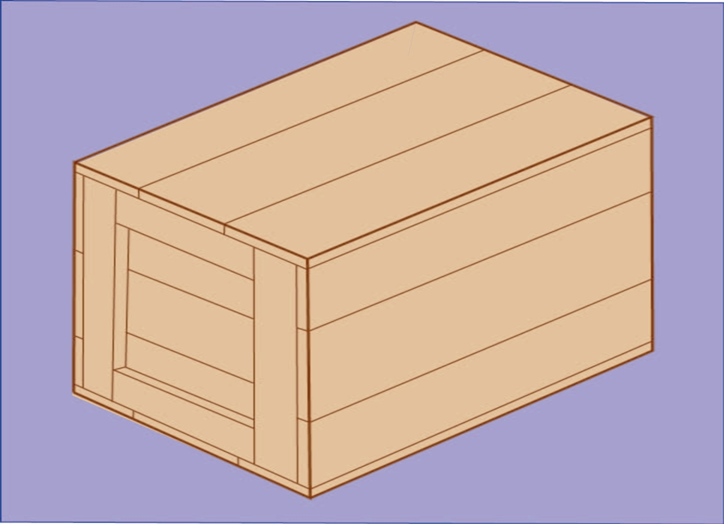
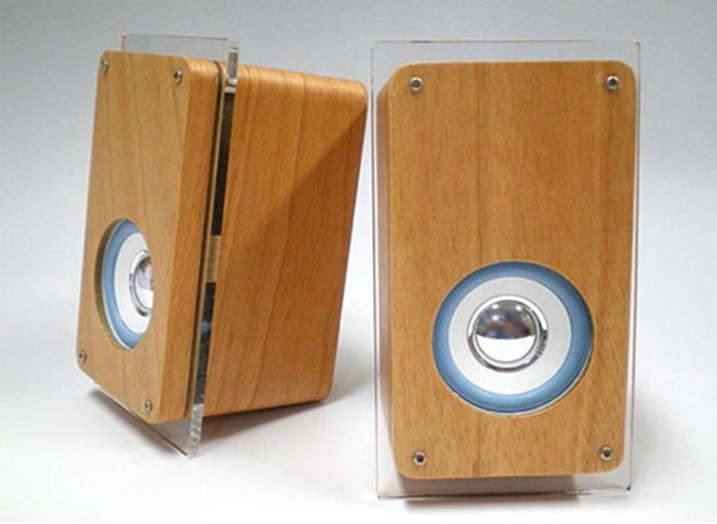
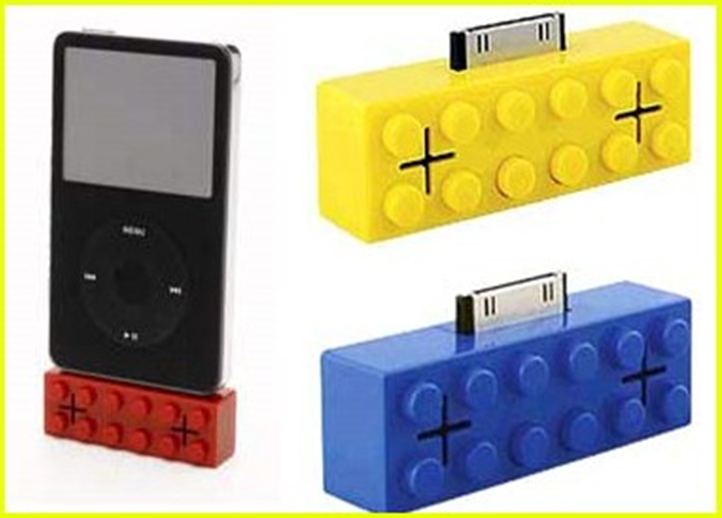
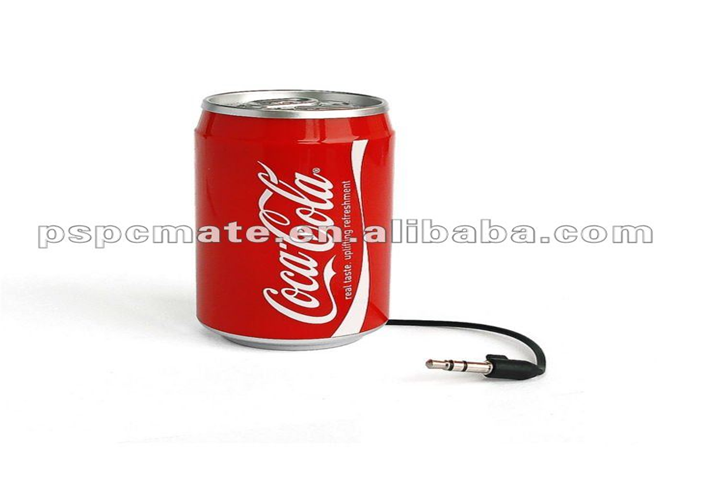
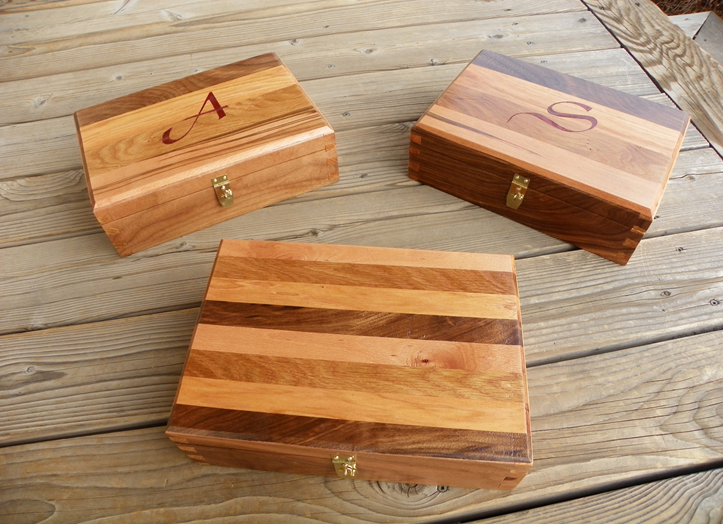
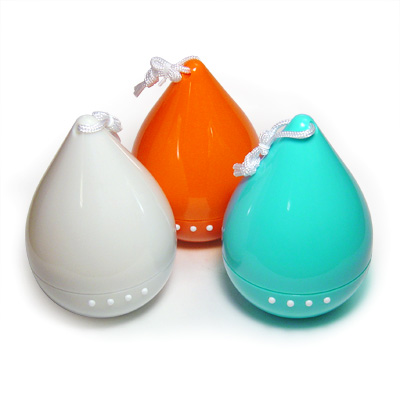
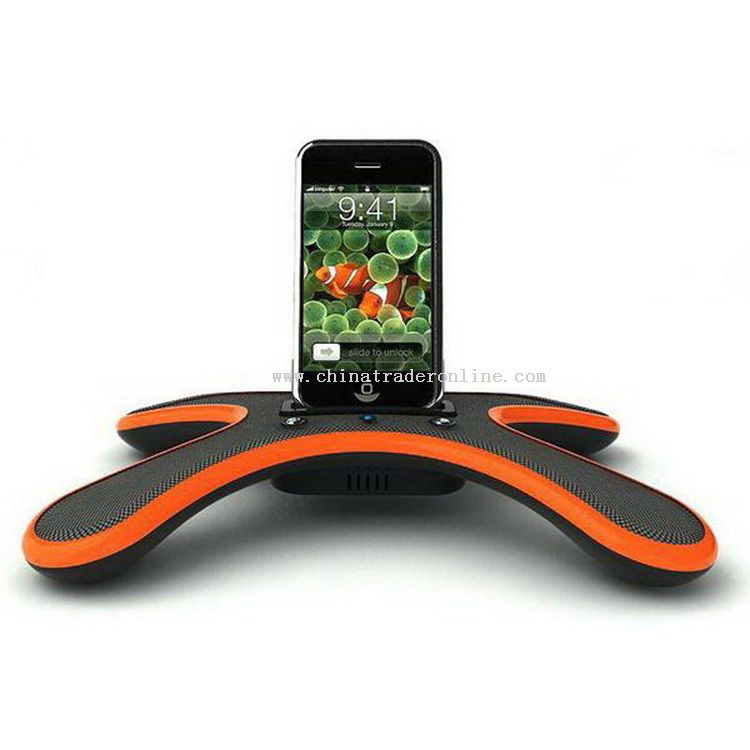
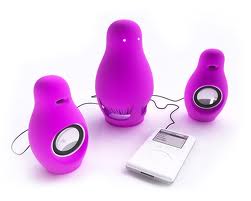
Inspiration and product design


Evaluation Recycled Speakers
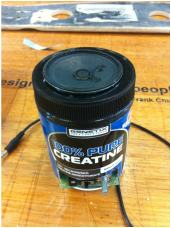
My final product has come together in not the way I exactly wanted, It was probably due to lack of drawings, measurements and time management. During the duration of the making of this speaker, I believe my idea somewhat worked but unfortunately I could not pull it off but my nest speaker will reach all of these requirements necessary to pull off my MASTER piece.
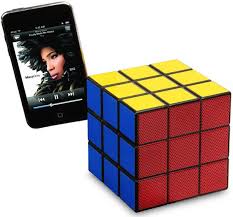
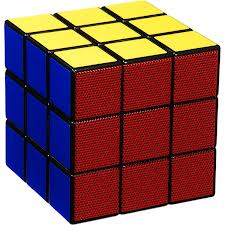
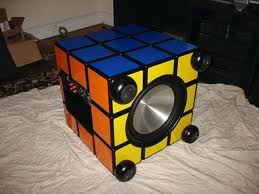
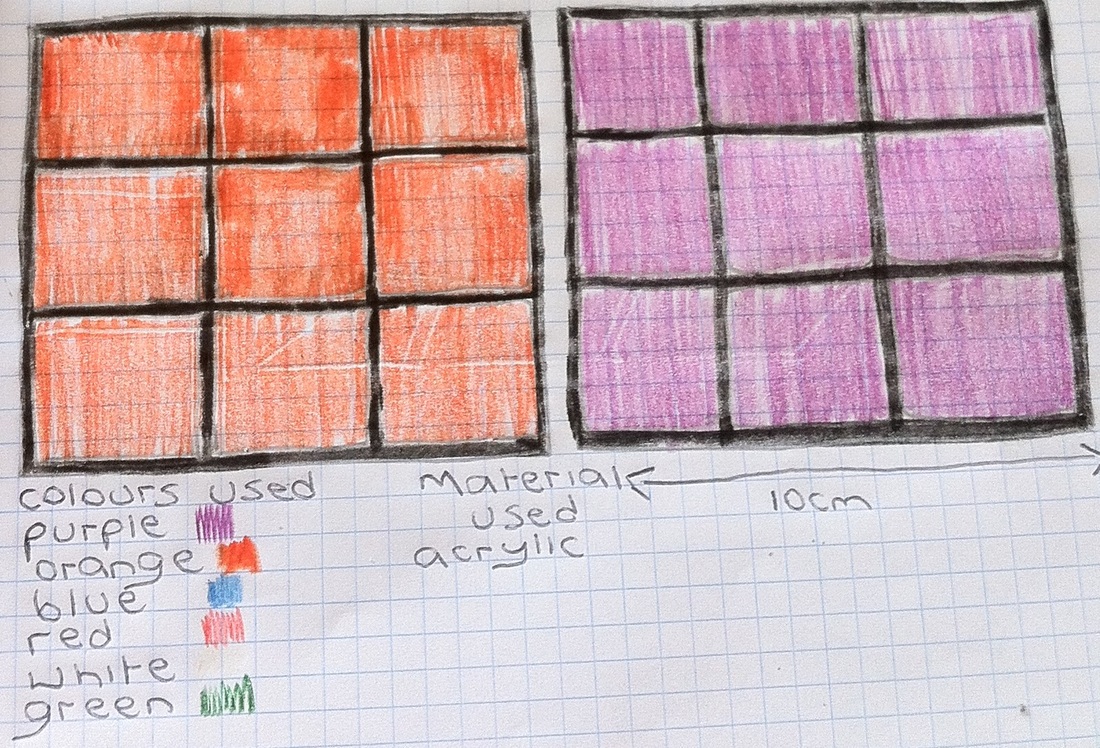
Acrylic Speaker (Rubix Cube)
Inspiration and Product Design


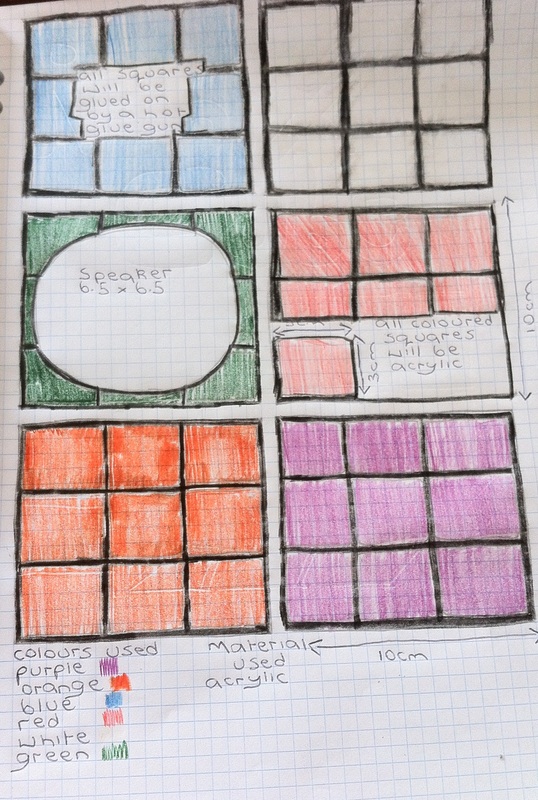
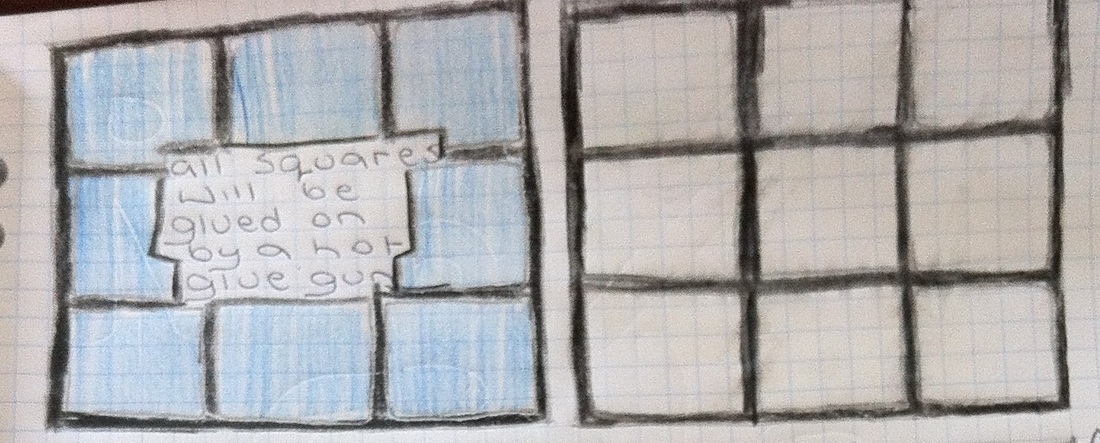
Sketch Gallery

Steps taken during Construction
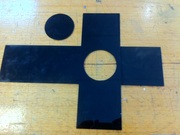
Step 1

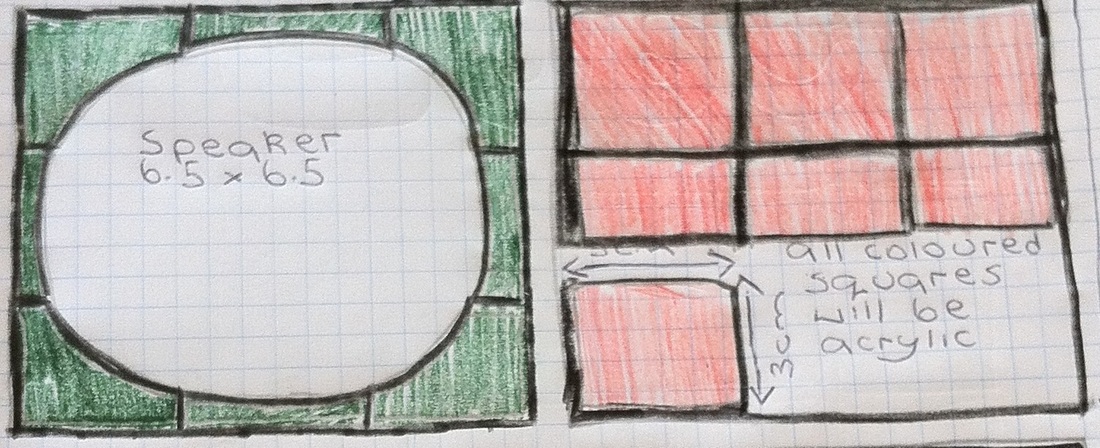
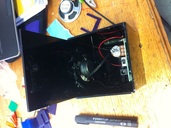
Based on the shape of my intended design, we have created a net of a cube using Corel Draw. The material the net will be made out of is black acrylic, which will be into shape using the Lazer cutter.
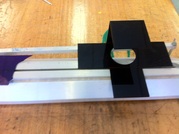
Step 2
After the net was cut out on the Lazer cutter, unfortunately the hole that was cut was to large for the 6.5 X 6.5 cm speakers. So with the round disc that I cut out as well, I used the drill press to make another hole to fit the speaker.
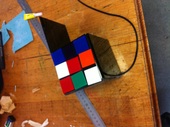
Step 3
Using the plastic bender I have to bend the acrylic into its cube shape. The plastic bender heats up the plastic and weakens it allowing you to bend the acrlic
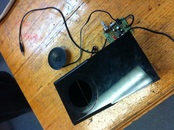
Step 4

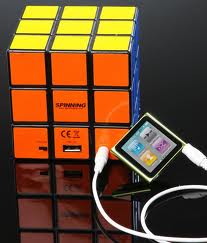
After the acrylic is bent into its intended shape, we need to put the speakers and speaker circuit into cube using the hot glue. But we made sure that we were still able to use the volume control and the on/off switch, so we used the cordless drill to make incisions in the acrylic to able us to use these necessary buttons and switches.
Step 5
Following the bending and the construction of my Rubix Cube, it was time to attach my speaker and speaker circuit. For this we had to use Hot Glue to attach to the plastic as it is strong and easy to spread.
Step 6
When I had cut my net out i had forgotten to make holes and openings for the volume control, power switch, audio adapter and IPod/IPhone cable. so to do so I have used the drill press to make holes and incisions for these necessary controls and wires.
Step 7
Next I had to decide if should put all colours on one side or spread them out evenly. It looked the best when the all the colours were spread out evenly. So the glue I used was super glue, super glue was stronger than Hot glue and didn't leave glue marks all over the plastic.
Step 8
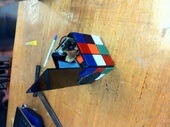
Once most of the sides had been covered in squares, it was time to lay down the squares near the speaker. for this I had to cut 8 squares to fit around the 6.5 X 6.5 speakers.
Step 9
After the speaker had been boarded by plastic squares cut to fit, it was time to bend the final side of the cube into to place. So I used the plastic bender to bend the last side into place.
Step 10

following the last bending of the cube, it was time to finish up the gluing of the squares onto the acrylic using super glue and hot glue as a variation of the surface changed.
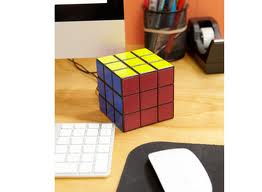
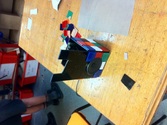
Finished Product
Project Evaluation
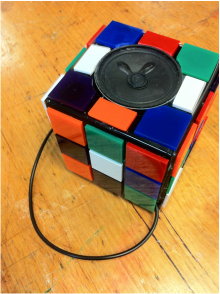
I believe my speaker was a huge success, it exceeded my expectations. Throughout the construction of my speaker I doubted that I would ever get it done in time, but due to good time management and drawings to follow I managed to pull through and complete my Rubix Cube Speaker. The only doubts that I would have would be the finishing of the edges, I would like to be a little neater and to fix that I would use sand paper and other smoothing techniques to buff out those rough edges.
In the end I have enjoyed this unit as I was very happy with the end outcome of my Rubix Cube Speaker.
In the end I have enjoyed this unit as I was very happy with the end outcome of my Rubix Cube Speaker.
