3D Printed Sunglasses
Students are to produce a pair of custom sunglasses which will demonstrate a range of knowledge and key skills. Students will research the process of 3d printing, explore social and cultural trends and develop a style which will influence their design. Students will refine their design through sketching and computer aided design before producing their final end-product using the 3D Printer.
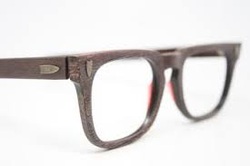
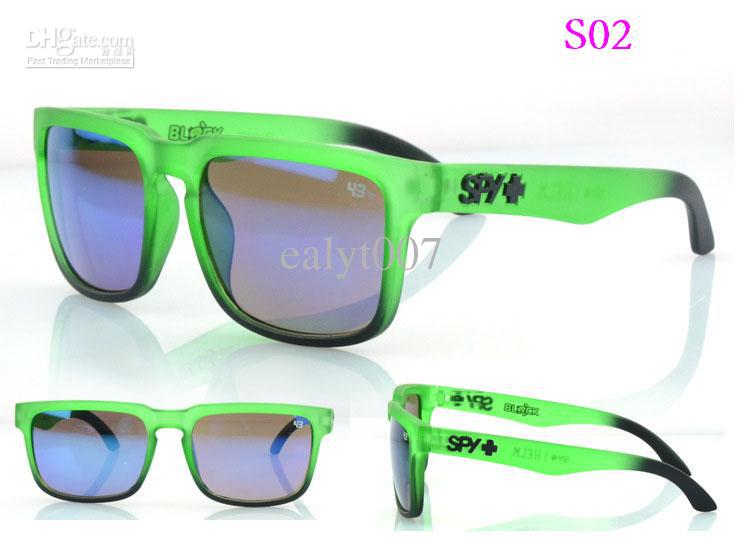
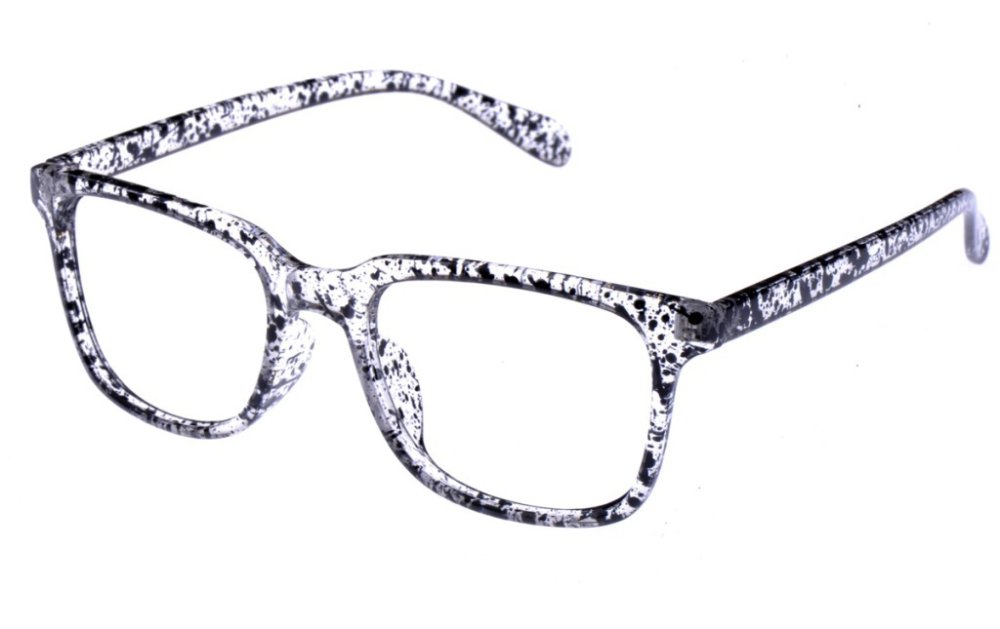
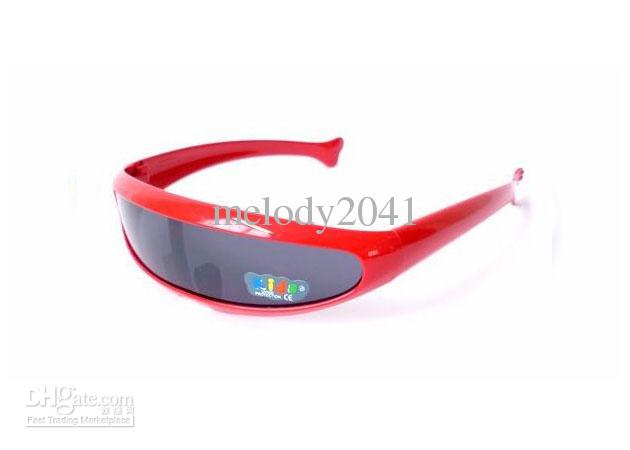
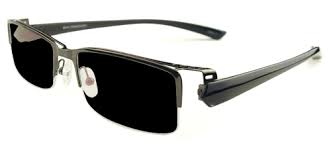
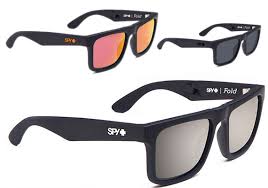
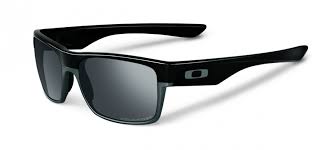
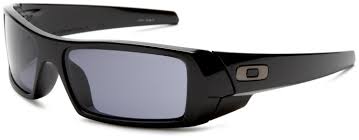
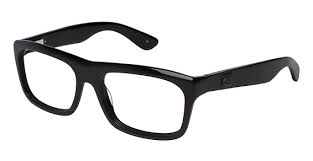
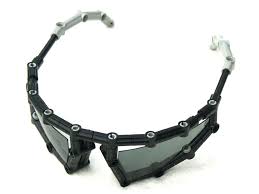
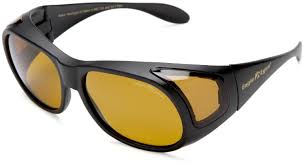
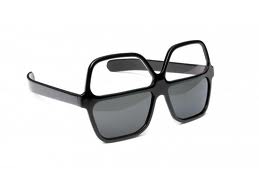
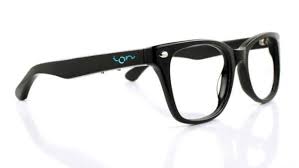
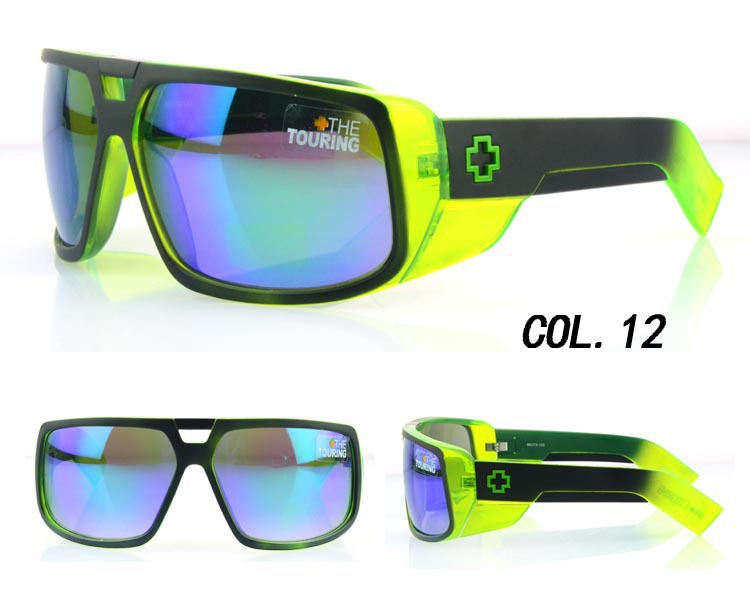
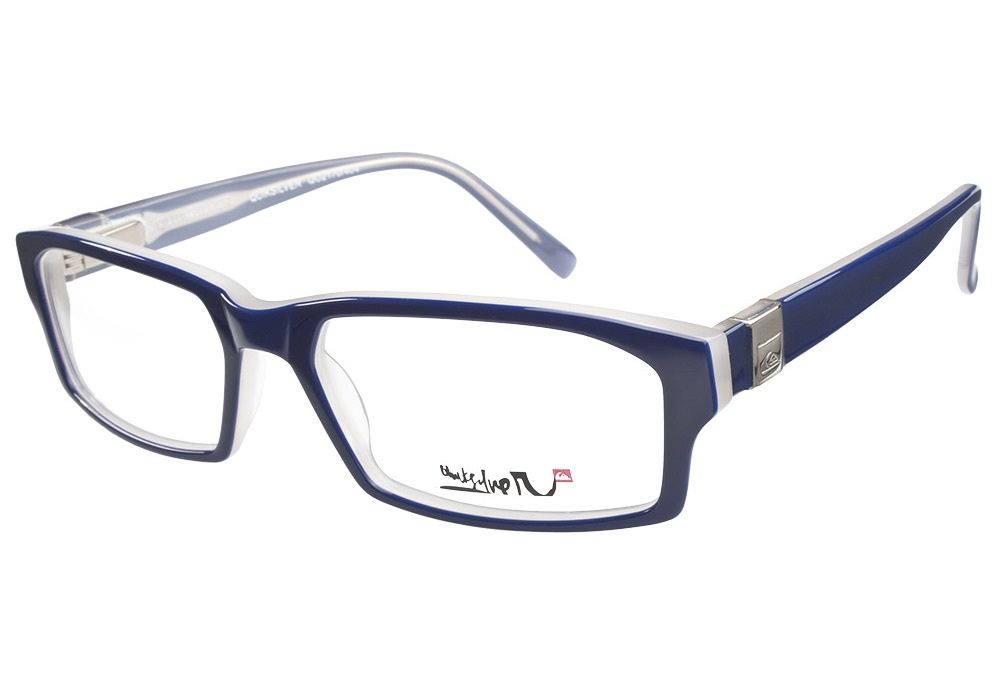
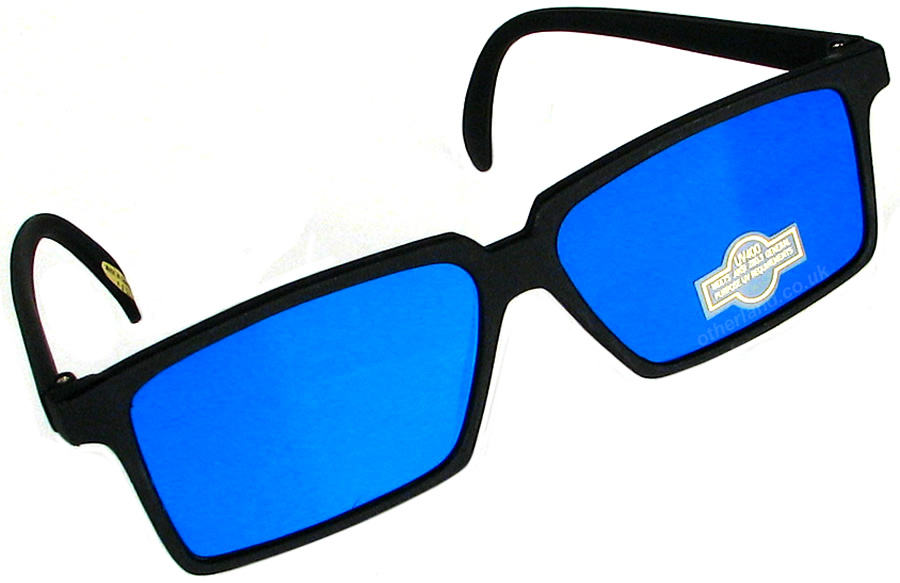
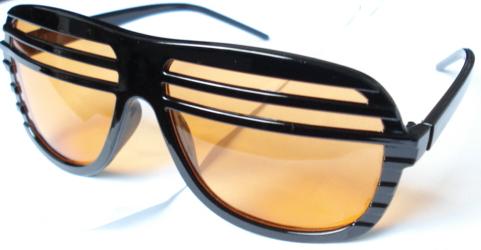
Inspiration and product design


Design ideas

There were many design Ideas that I could have chosen from, the shapes and curves had to be negotiated and many measurements had to be taken in order to come up with the perfect pair of sunglasses. After playing around with the Software I realised that I could make pretty much any pair of sunglasses I wanted. the final product was thoroughly thought through as what would be appealing and what would be something that was risky.
Final Design
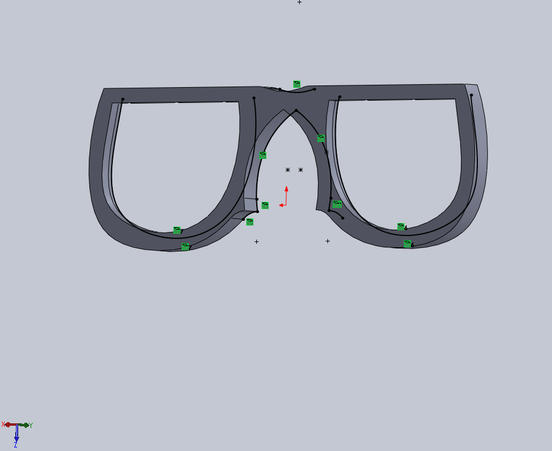
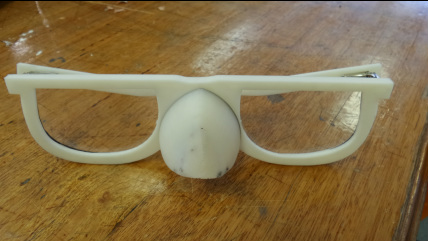
This is my final frame design, it consists of many shapes and curves that are relevant in all my designs and in the inspiration gallery. The biggest difference from my glasses to all the other ones is that it doesn't have a built in segment for a nose, my glasses are unique because they have a beak. This beak is one of a kind as it will only fit my nose. My glasses are also unique as the shape of them is quiet flowing and smooth which will help my glasses eliminate the strange but yet cool beak which will be positioned on the front of my glasses.

|
Steps Taken During Construction
|
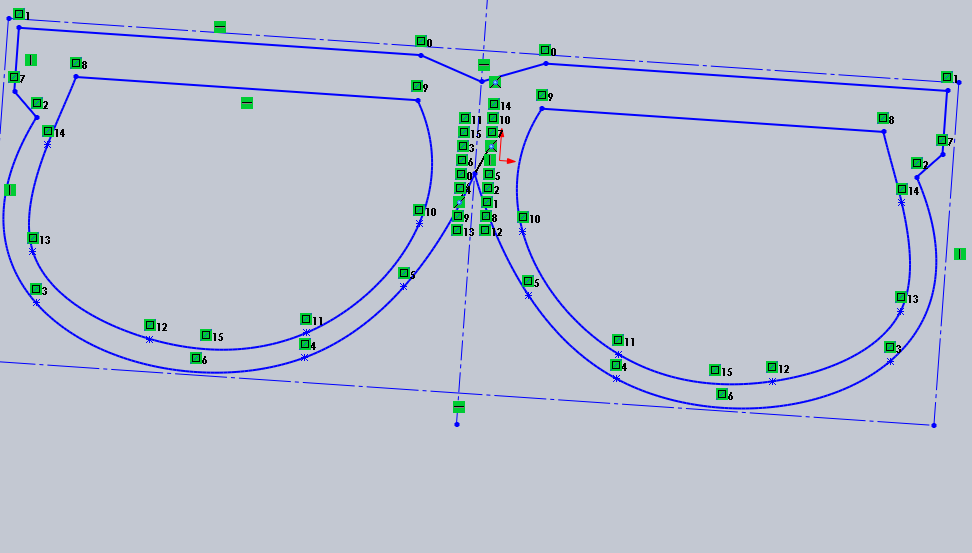
Step 1
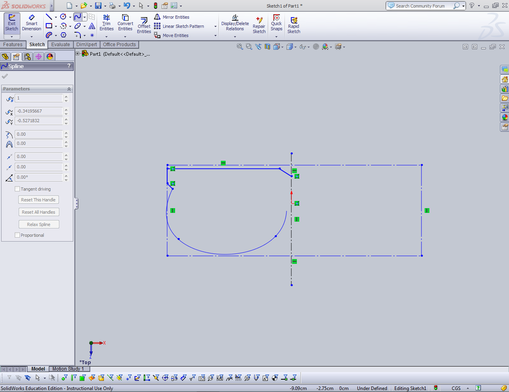
To Design my Sunglasses that would be printed out using the 3D Printer, I had incorporated clean and modern day sunglasses to those in which I liked to wear. So I came up with a design that would look cool and also look well constructed. The first step in order to undertake this was to design the base shape of the sunglasses, at first I had to create using the line tool the basic shape of the sunglasses. this was then followed but using the curving tool to make the round part of the glasses. this process must only be done on one side because once you had finished I could mirror the quantities to form the front frame of the sunglasses.
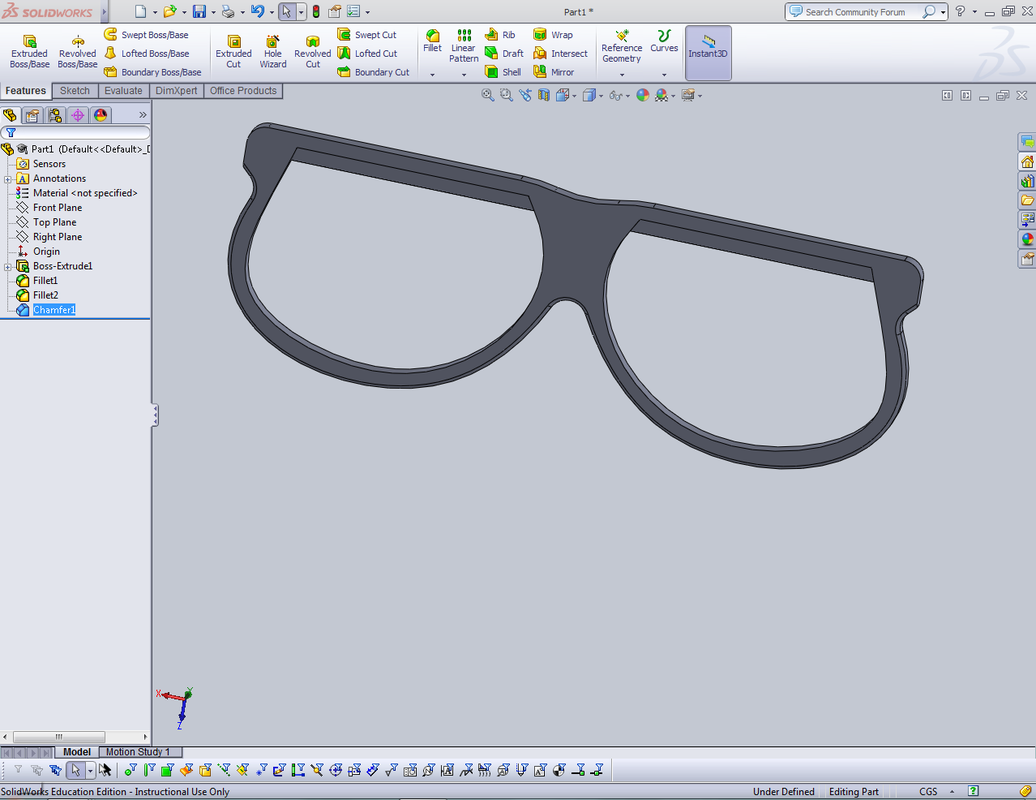
Step 2
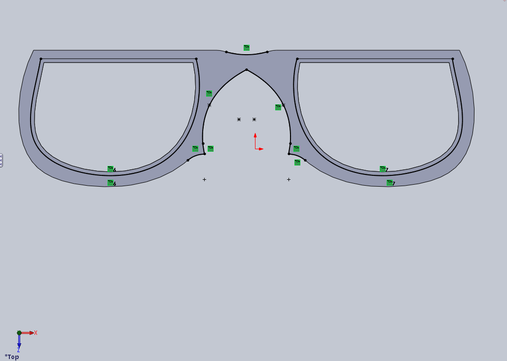
After creating the front shape of my sunglasses I had to curve and smooth out any rough parts of the sunglasses using the curve tool. the next phase was to extrude bass/boss it, I extruded it by 60 millimetres this was the perfect thickness for my glasses as they wouldn't be to big or to small. After extruding it I had to make a step for the actual lens to do this I had to remove part of the sunglasses by extrude cutting this was 20 millimetres in depth perfect depth for the lens to fit in.
Step 3
Once the frame was created, the hinges that we were using to support the arms of the glasses. the hinge was 8 millimetres long and 4 millimetres wide. unfortunately my glasses were not thick enough to support these hinges so I had to create an extension on my glasses. after debating, designing and looking for many inspirations on other glasses we came to the conclusion to make the extension on the glasses a large square coming out from the top corners of the glasses.
Step 4
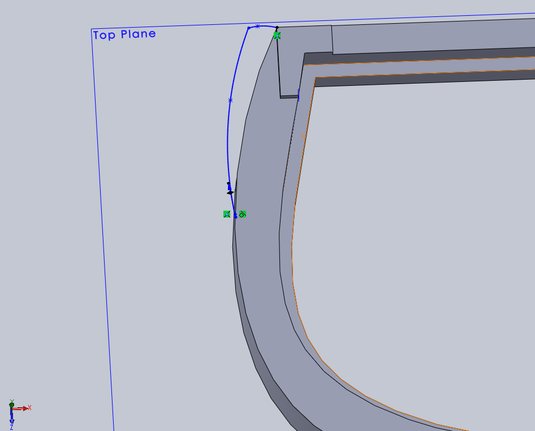
This is the final design of the extended attachment made on the side of the glasses, I have opted for a raben inspired extension as it fitted my sunglasses well and tied them up making them look clean and also extend the sunglasses to make them fit my head properly. This design has not only supported my sunglasses but assisted them to make them stronger and have to ability to hold the arms. The next step is was the smooth out the edges on the glasses using the filleting tool this was necessary because the glasses now fit perfectly on my face which makes them well designed.
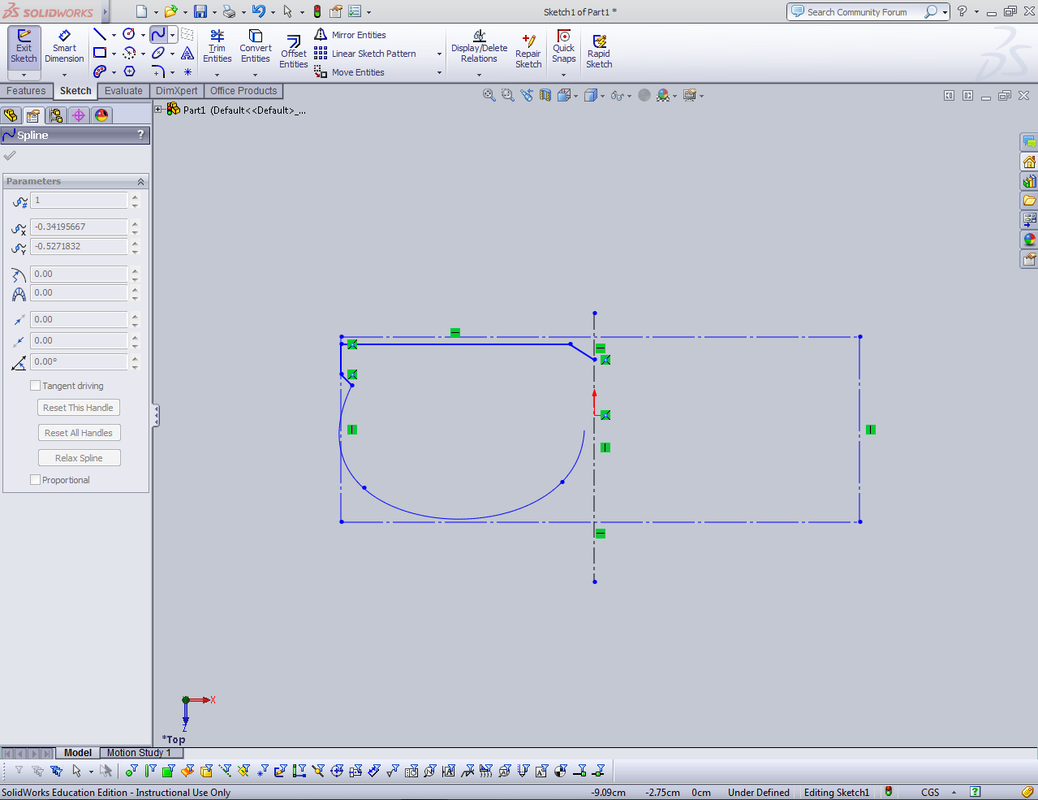
Step 5

once the extensions were created, I had top decide how the glasses would fit on my nose, this would either mean having little pieces coming off the frame or mounting a small oval object to rest on the sides of my nose. But that wasn't what I wanted, what I wanted was a beak. To make this beak first we had to select the inside part that I had left untouched and transfer it onto another document to begin the beak making process.
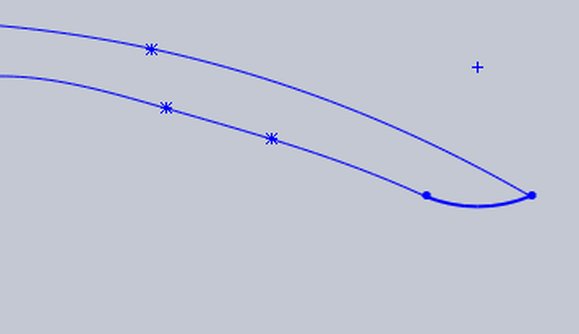
Step 6
Once the outline had been transferred onto another document I had to outline and decide the thickness of the original 2D outline. I had to design the particular shape of the beak as it had to fit the tone of my nose it was either long and pointy, short and stubby or medium length and pointy. I chose pointy and medium length as it fitted my nose and would suit the look of my glasses.
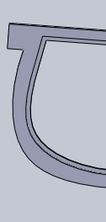
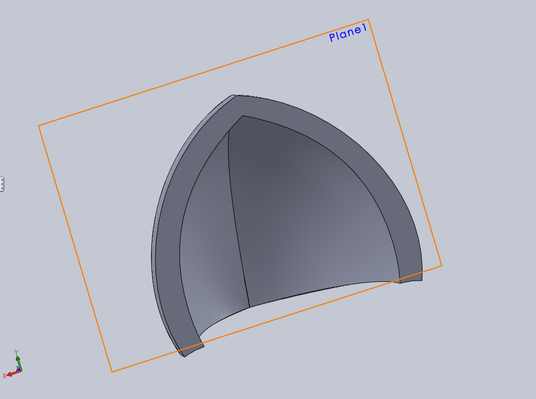
Step 7
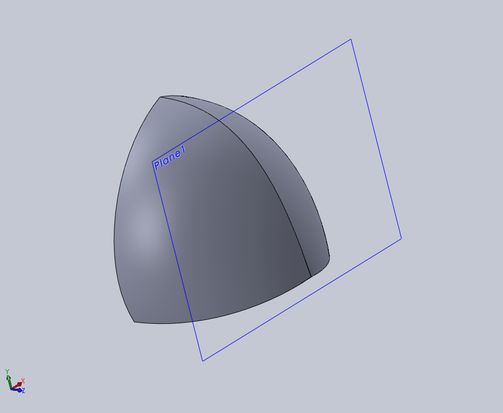
The next step was to create the beak, to do this I used the tool Lofted Boss/Base where it would create a shape to a point/origin. using this tool I could set a point to a certain origin which would be placed on a plane such as this one. Once the beak had been created the idea was no to copy it back into the frame file but to print it out using the 3D printer and glue it back onto the glasses once everything else has been printed out.
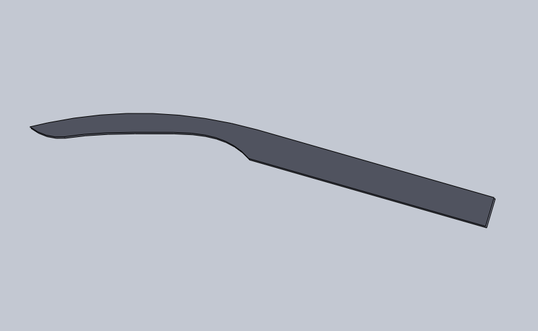
Step 8
the next step was to design the arms, the arms had to be the same width as the extended bits and the length had to be 140 millimetres because that's how long it was to my ears. to make this I used the line tool and curving tool to create the medium curl that would go part way round my ear. This was then linked up with the original part of the arm.
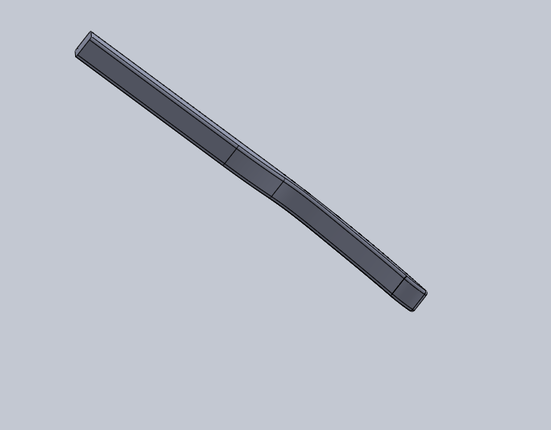
Step 9
once the arm had been designed, I had to extrude base/boss the arm. I then made the arm smooth and curved the edge using the filleting tool. This added design purpose and looks what would have been a pretty plain arm. I then debated whether I should had carved something out such as my name or any feature but decided against it as it look to cheesy and plain.
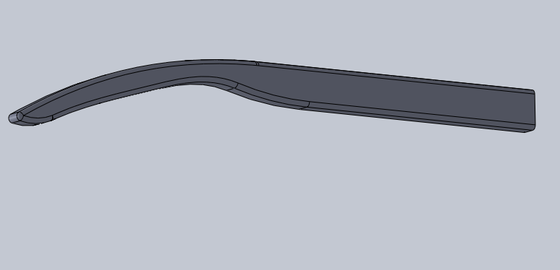
Step 10
Step 11 was instead of making the arm again and stuffing it up, getting the measurements or thickness wrong what I did was mirror the image to make it twice as thick as it was. This mirrored it onto the other side making it the left and right hand side arm. This was the much better way of making the arms, and it was much better/easier for me.
Step 11

The next step in the arm making process was to cut the arm in half using the extruded cut tool, because I had already previously made the left arm and saved that in a previous file, I only had to cut out onside of the arm which obviously was the right arm. This process was quick and fast and much easier than making the separate arms in two different files. once the right arm had been completed the whole construction process was finished.
Step 12
Finally the frame, Beak, Left arms and Right arms can be printed out using the 3D printer, So to allow our file to be printed off using the 3D printer we had to convert it into a STL file which wasn't a huge stress but it was necessary. The Colour I chose for my glasses was white as I thought White was a Smooth cool Colour which would fit the outgoing personality that my glasses would portray.
Step 13
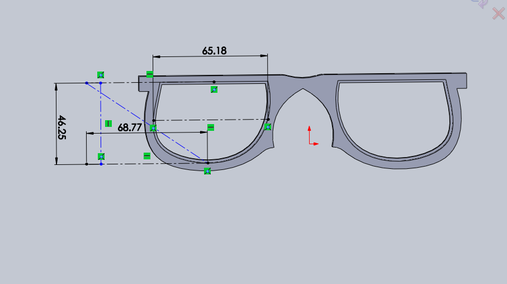
After printing out the rest of the glasses, I had to design the lenses that would be fitted into my glasses, using the centreline tool I measured the lens space and the lip to were the lens would fit. Once I moved this into a Photoshop file it could be printed off using transparent materials, fitting in my glasses perfectly.
Step 14
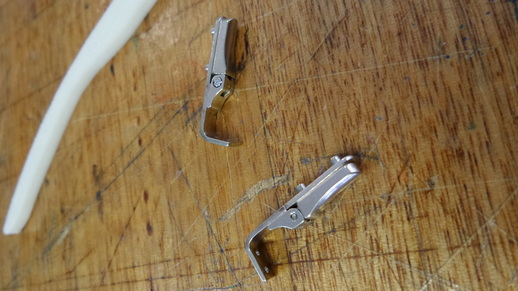
Finally after the Glasses were printed out using the 3D printer and the lenses were cut out using the laser cutter, it was time to attach the arms using these hinges. To do this I had to drill four individual holes, two in each arm. and screw in a few screws to hold them together. Once I completed this I could screw the hinge into the base of the glasses this meaning that the glasses would be able to fold and the arms would be attached properly. Finally it would be time to attach the nose piece
Final Product
Critical Evaluation
I believe that my glasses design was a huge risk as it involved many shapes and revolutionary design. My glasses really were able to diminish the overall powerful presence of the beak, although the beak was completely unnecessary I thought it would be a cool added feature to help increase my marks and my overall look of the glasses. the only downsides would be that I have to remember to adjust the thickness of the beak to suit my nose and also remember that my head is not really that big and i should really of got the dimensions correct. This project was fun and enjoyable and I really did like it.
