The HELICAR
Design brief
Students are to produce a MODEL RACE-CAR which will demonstrate a range of knowledge and skills. Students will research vehicle design and aerodynamics, explore industry trends which will influence their design. Students will refine through sketching and prototyping before producing their final end-product using foam modelling and vacuum forming. A portfolio will be produced which documents development throughout the project.
Inspiration and Product Design

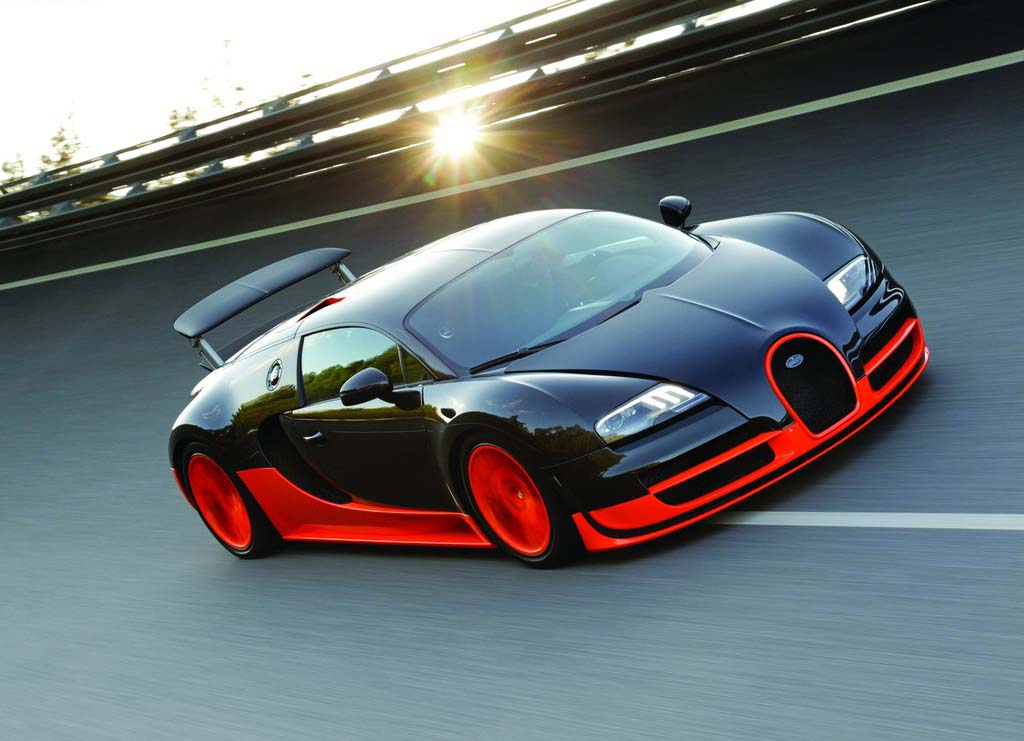
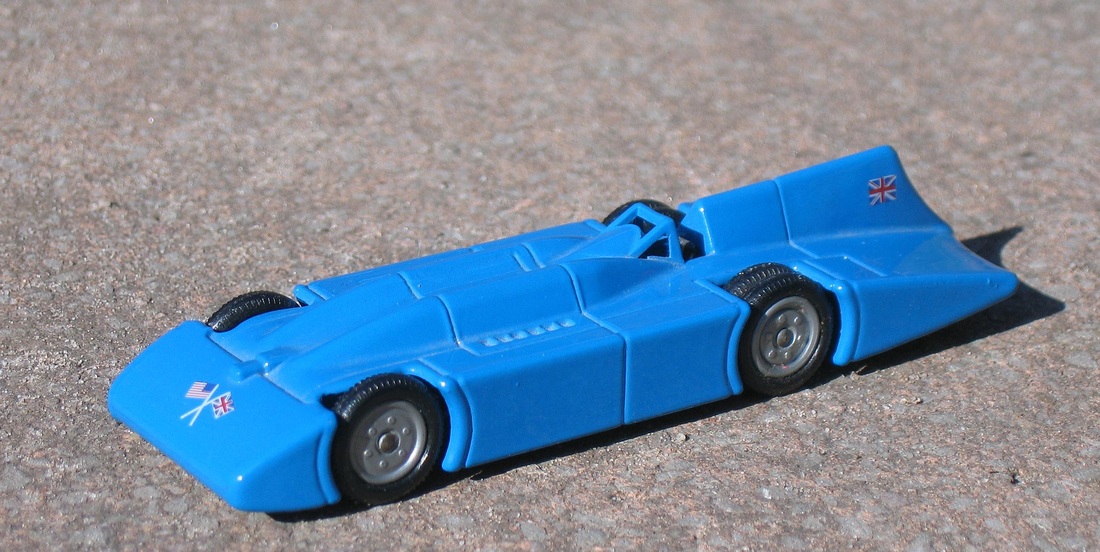
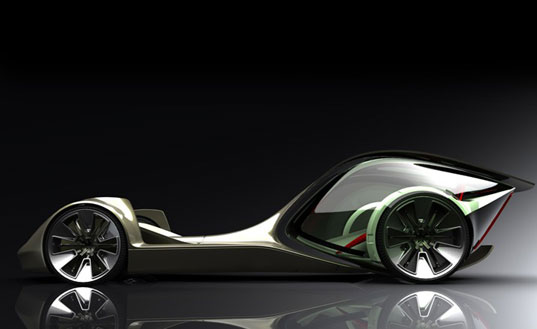
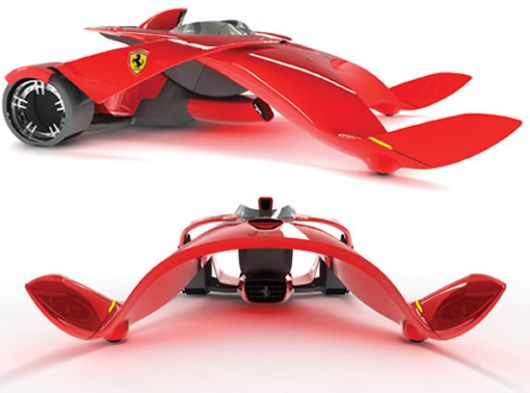
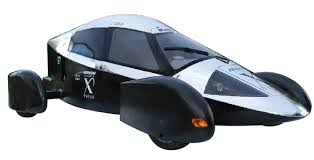

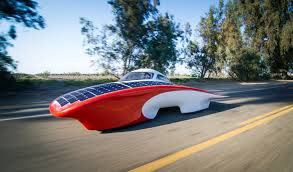
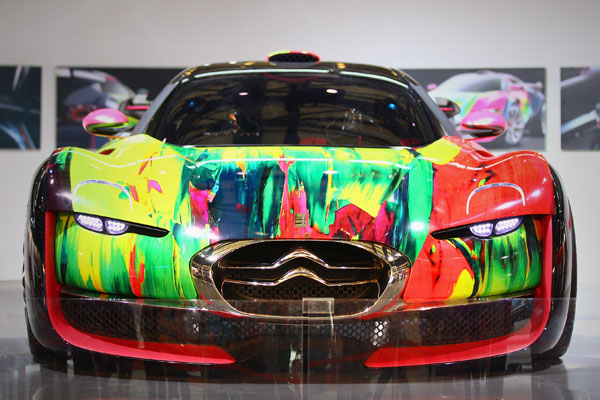
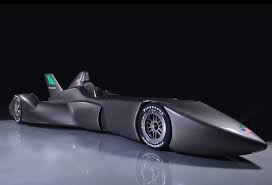
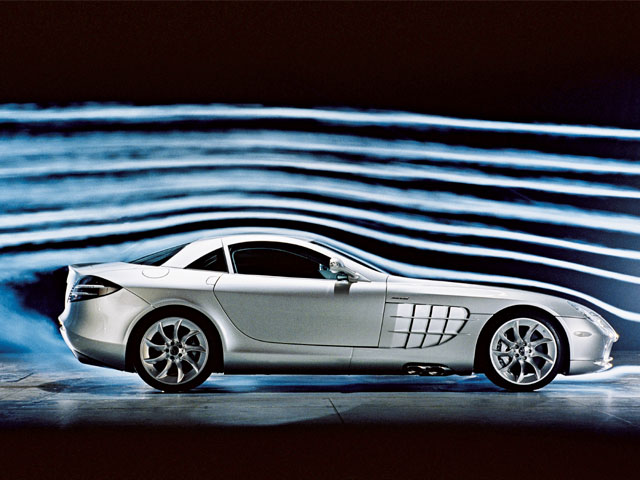
Drawings of Design Ideas

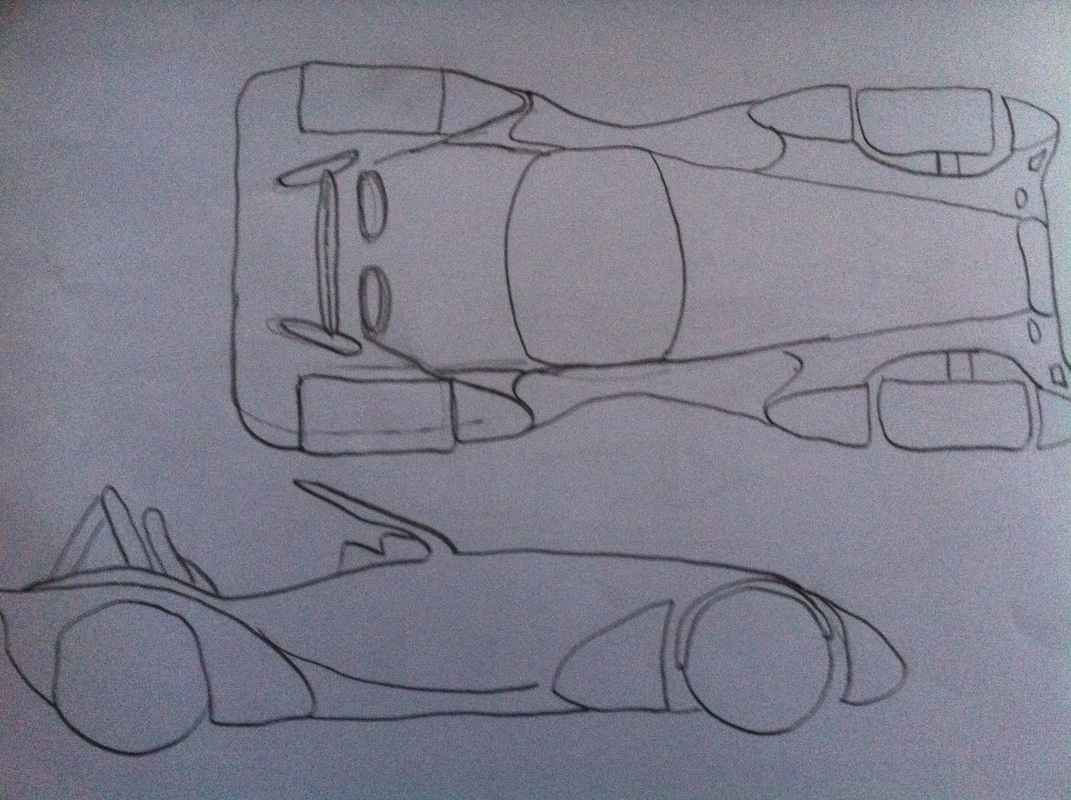
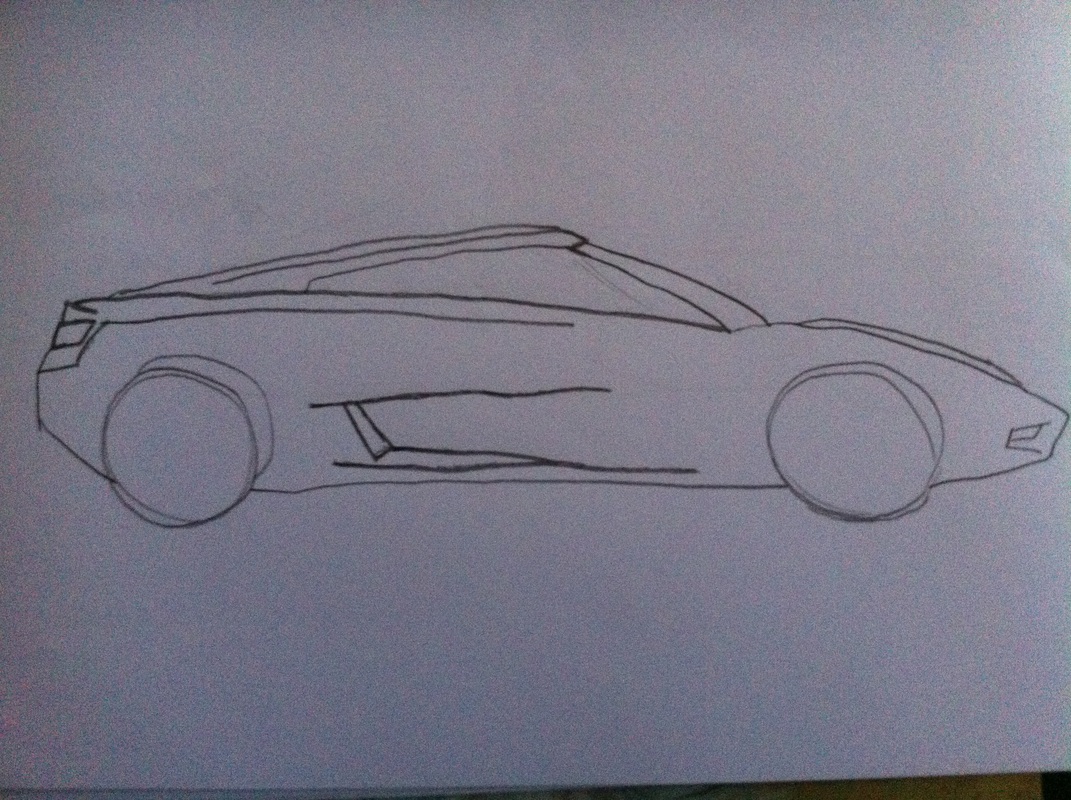
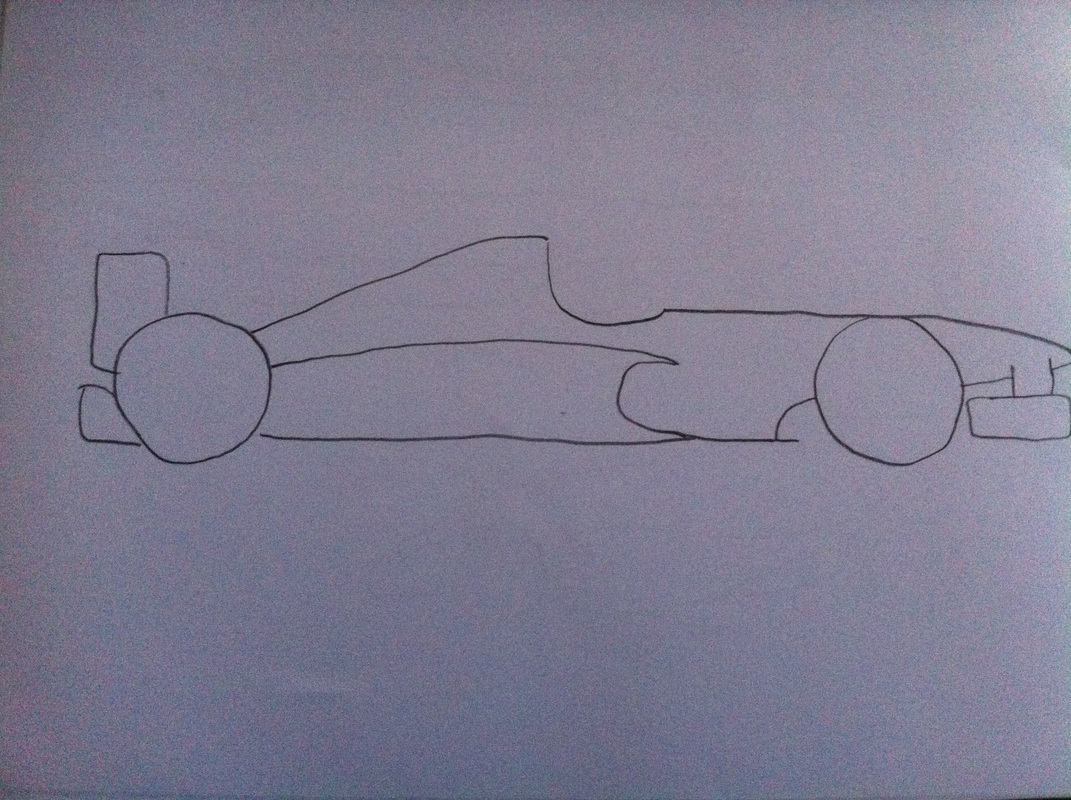
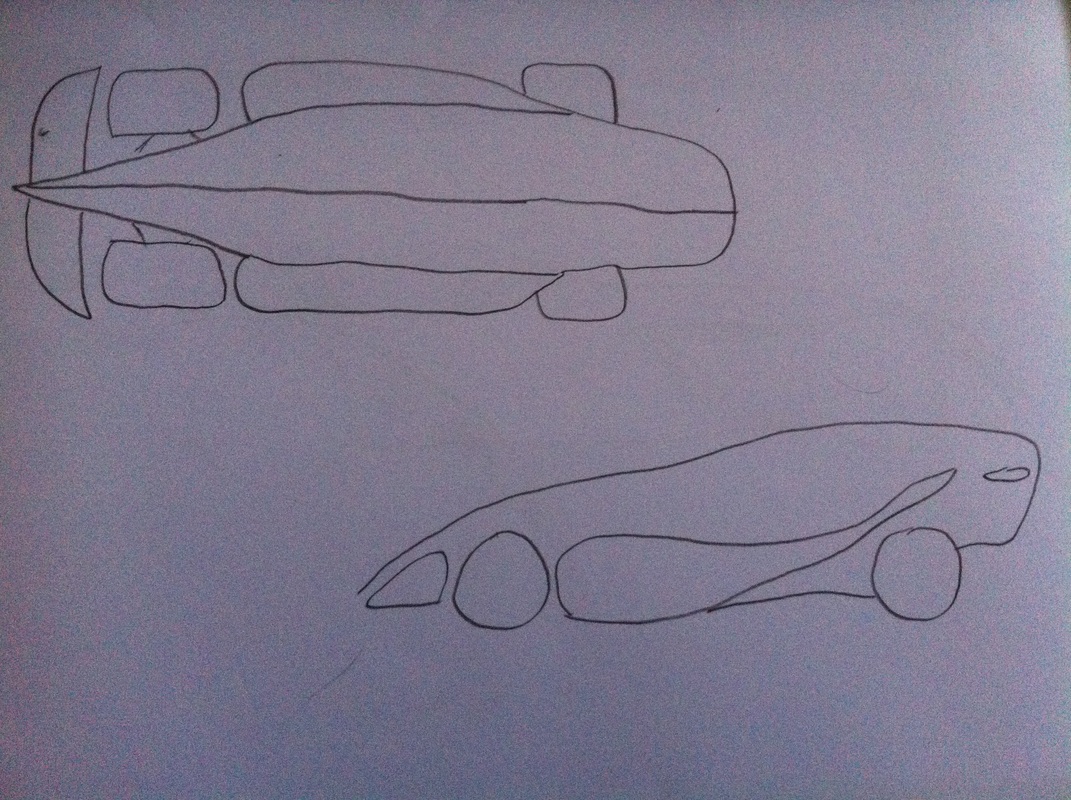
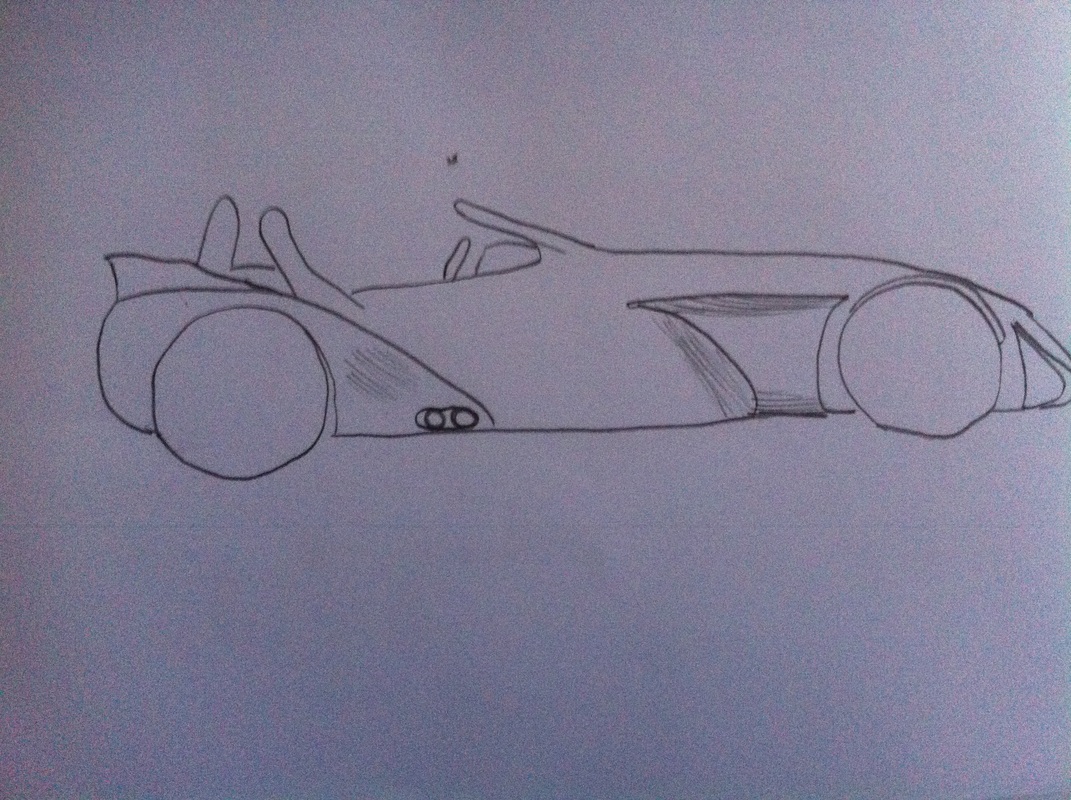
There were many designs that I could have chosen for my HELICAR, the design I had chosen had all different aspects of these designs, whether they be the shape, the overall design, the specific aerodynamics or the low slung sports car look of these cars.
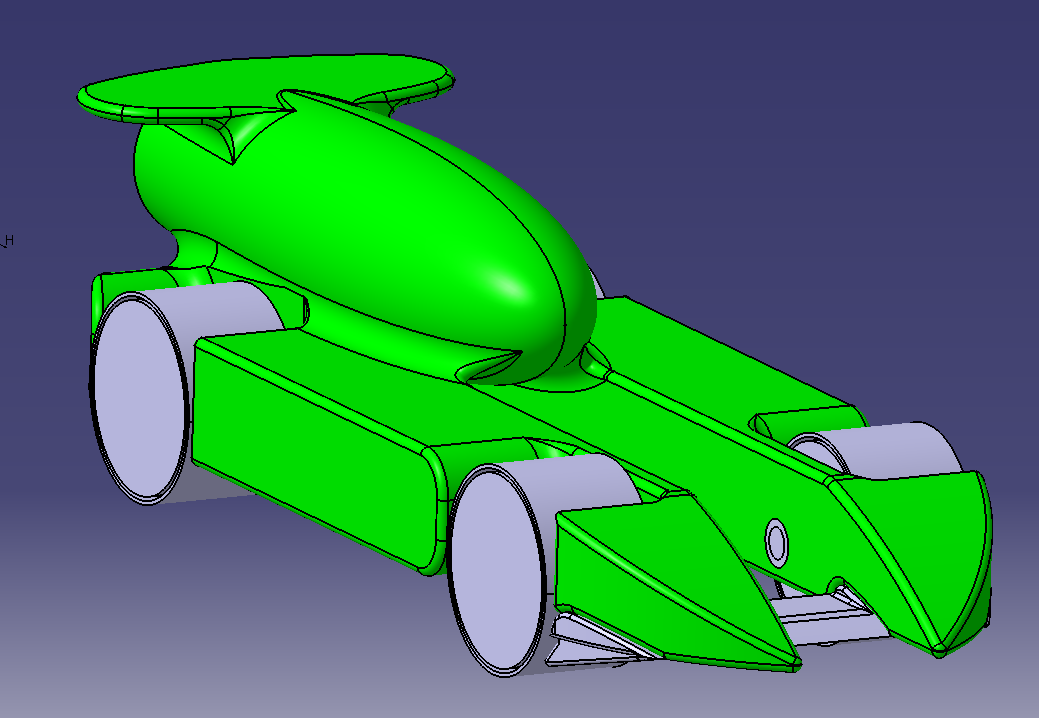
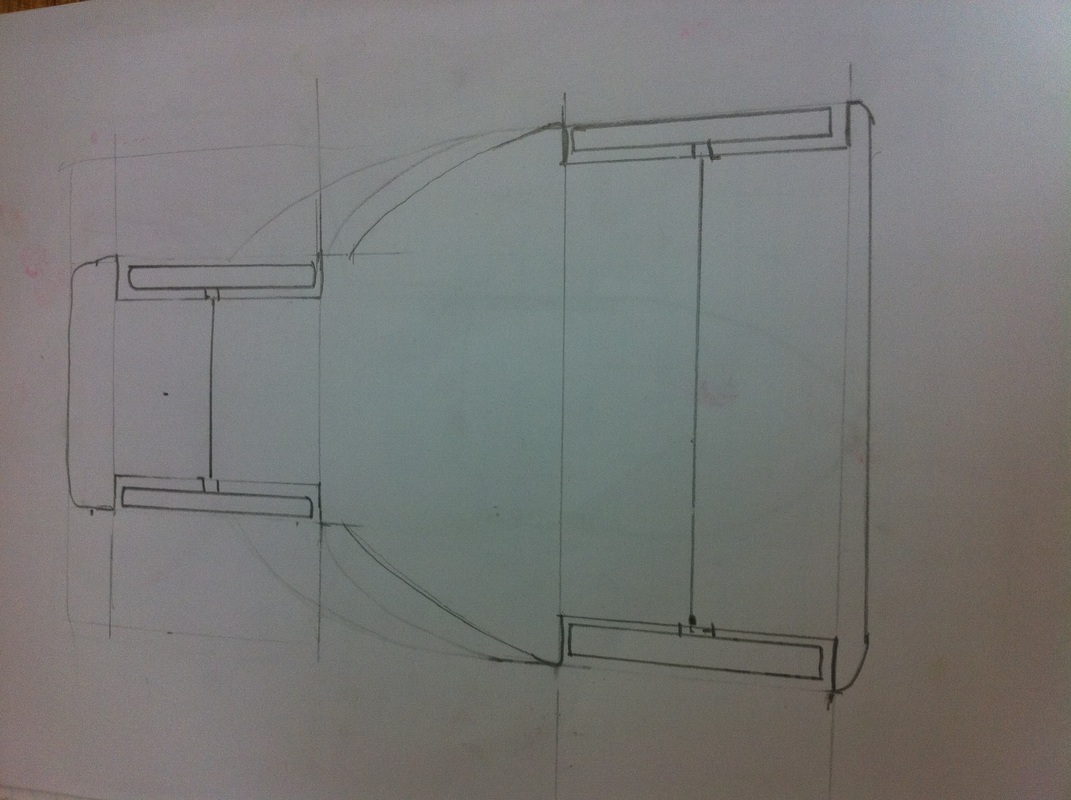
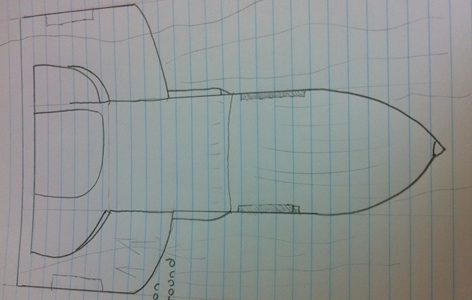
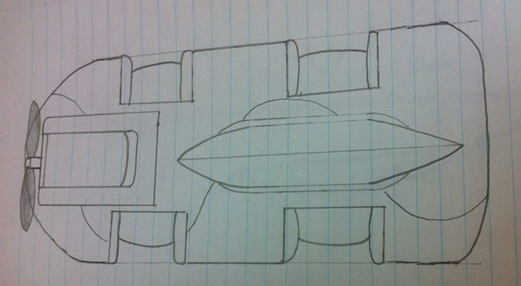
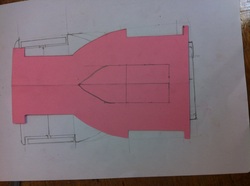
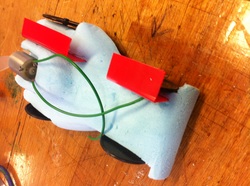
Final design
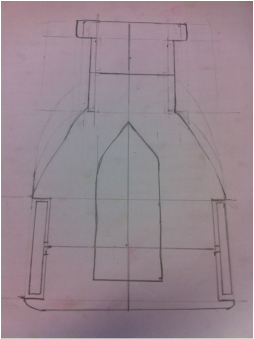
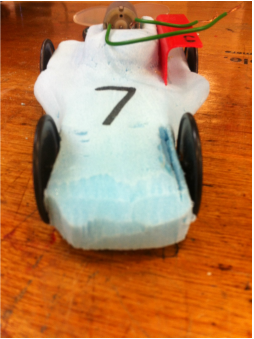
This is the top view of my final design of the the HELICAR, In my final design I have tried to incorporate all different aspects of the drawings above. whether it was the shape, design, aerodynamics or the over look of the car. I believe this car design I have chosen will be fast, light, very aerodynamic and will involve as many cutting and shaping techniques to shape my masterpiece. I think my HELICAR will do very well when we come to racing it because of the lines and the weight distribution.
Steps Taken During Construction
Step 1
The first step taken during construction is the design aspect. The design I have chosen is purely based on gaining maximum speed and reducing drag. The initial design of my Helicar was a wide based model which was very low to the ground, but because of my wheel base choice I was forced to make the front wheel base 6 cm and the back 12 cm producing a smooth even ride throughout the duration of the speed testing.
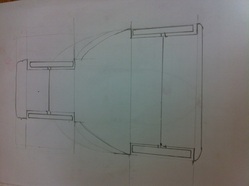
Step 2
Step 2 of construction involved making a cardboard outline of my intended design. It had to be a specific width and length to fit on the intended foam that we would be cutting and had to meet the height restrictions outlined to us.
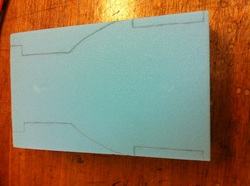
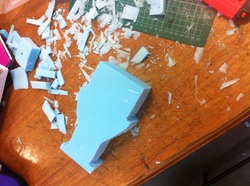
Step 3
next it was time to trace the cardboard cutout onto the foam to then begin cutting. The foam was a quite malleable but easily broken piece of material which had to be cut very specifically using cutting tools.
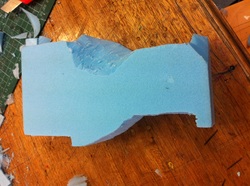
Step 4
when we began the cutting the technique we used to cut the car varied as some parts of the foam were easier to cut, we resolved this by not cutting it like a 'BUTCHER' but instead using slower, smaller cuts to ware away the foam. this proved to be very effective throughout the construction of my Helicar.
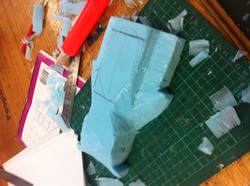
Step 5
During construction we used many tools to shape our HELICAR such as Stanley knifes, hack saws, coping saws and different sand papers to get out intended design. The most effective cutting tool was probably the Stanley knife as the angle of the blade could be change with the twisting of my hand.
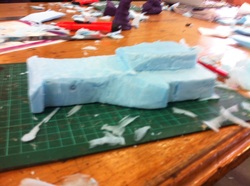
Step 6
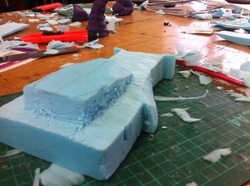
Once our intended design was starting to take place it was time to make the height of the HELICAR smaller. to do this I designed a small mount where eventually the motor would be held allowing air to pass over the car smoothly. Increasing the cars down force and the aesthetics of the car.
Step 7
Step 7 consisted of carefully using a slicing technique to carve out indents in the side of the HELICAR, to help make the car more aerodynamic and help it with down force. Something very necessary when design a car for speed.
Step 8
During step 8 the car started to really look like my intended design and I could see the correct patterns and spacing need during the rest of the build. This allowed me to see where changes were necessary.
Step 9
The next step involved the shaping of the front of the car. there were many designs I intended on doing but I settled on a low slung front, very aerodynamic, light and looks very good. My design was ruffly based on the front of an F1 car.
Step 10
Because of my intended hump at the back of the car. I had to carve 3 indents into the car to give the clearance of the propeller, helping a clean flow of wind to help the car reach its maximum speed.
Step 11
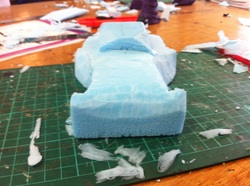
The next step was to drill the holes for the axles. Because one axle was 12 cm and the other was 6 cm they had to be made stable. so to do this we used the Drill Press to equally make the holes to help balance out the car and provide a smooth ride.
Step 12
Step 12 consisted of sanding and making the HELICAR as smooth as possible getting out all the minor and major imperfections. To do this I used sand paper and files to buff out those ruff parts of the car. This helped to provide the aesthetics and design aspects on my car promoting the look of the car. Another design idea I came up with was a small rectangle indent in the back of the HELICAR to allow space for the motor. This idea was supposed to help with down-force and the overall aesthetics.
Step 13
During step 13 because of the rectangular indent in the back of the HELICAR clearance was needed from the foam to the propeller so because of this I created a semi-circular back rather than a square to allow for proper circulation of air and good weight distribution.
Step 14

The next step taken was to heat up and bend the plastic to hold the pegs and power anchor bits onto the HELICAR. These bits of plastic helped with my aesthetics and the control of the car when going round in the circle.
Step 15
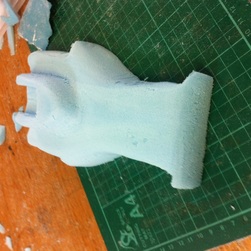
The final step of construction was to fix the motor and the wires onto the HELICAR. To do this I used Hot glue to secure the motor in place and still allowing the vent in the motor breathing space. we secured the wires onto the motor by using a soldering iron. This is my Final product.
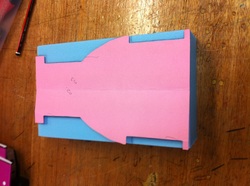
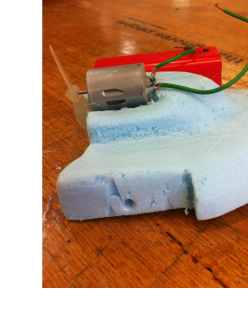
Final product BEFORE modification
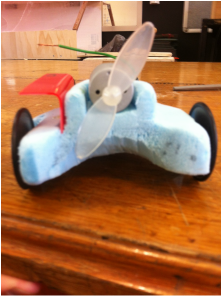
This is final product before modification, my HELICAR here is not in its final form as modifications will be made, but this product is what it will be based off. My HELICAR is very aerodynamic, light and very sleek. I believe my car has been very well made my edges and curves of my car match my exact design aspects in my drawings. My final evaluation of my HELICAR is below.
Modifications Made
Modification 1
The first modification I have made is, allowing clean airflow into the electric motor. I believe this will help with gaining more speed and providing a faster ride because you need clean airflow into a motor to allow it to perform at maximum capacity. This was just one of my many modifications to just make my HELICAR faster and more mechanically better.
Modification 2
My second modification is making the two sort of like wings higher up, I have decided to do this because the wings will act as a thing that would create down force helping to speed up my car. To do this I used a Stanley knife and sand paper to get the perfect shape and feel of the wing. I believe this modification has worked very well as the last test we did it definitely sped up my HELICAR allowing for greater performance when racing these cars.
Modification 3
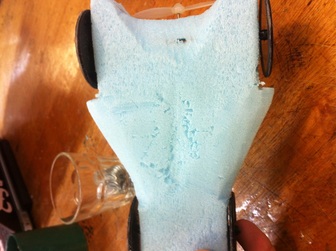
The third modification made was to smooth out and loose as much weight as possible on the underside of the HELICAR. To do this I used sand paper and a Stanley knife to smooth and buff out some ruff and large pieces of the underside of the car. This modification should allow for clean airflow under the HELICAR, further speeding up My car.
Modification 4
Another modification unfortunately was not something I intended to but was forced to after colliding with another car, I lost a front right corner of my car forcing me to trim down the other side. I believe this was beneficial because it allowed clean airflow over the wheels providing even more air into those purpose built wings. This will further more increase my chances of gaining more speed with my HELICAR.
Modification 5
The fifth modification is one which was very beneficial because it allowed clean airflow from the top and bottom allowing the propeller to perform at its very best. This modification I believe has helped benefit fantastically as it helped my HELICAR produce as much speed as possible, making my car faster and lighter.
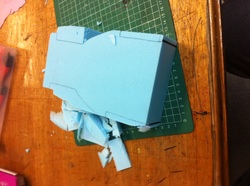
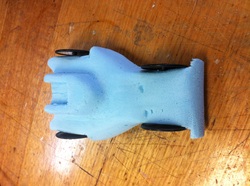
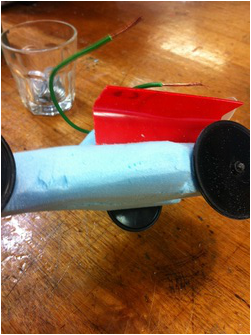
Modification 6
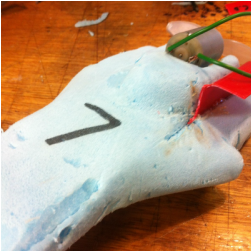
The sixth modification I did was trimming down and making the rear if my HELICAR lighter, I have achieved this by as you can see in the picture flattening on an angle the rear of my car. This not only looks cool but makes my HELICAR lighter are more aerodynamic, I believe this modification which i have made has been very successful in helping my car look cooler and perform better.
Modification 7
The last modification I did was trimming down my plastic hold platform on the back of my car, This modification would help because it would lessen the drag effect on my HELICAR. I believe this modification was very successful in helping my HELICAR gather 'all out speed' to smash Lachlan channell's car.
Final product AFTER modification
FINAL Evalutation
I believe that my HELICAR design is a very unique and aerodynamic design built for speed and not looks, my design was crafted from aerodynamic drawings and inspiration from other cars. Through my modifications and tweaks of my HELICAR I believe my car has come out just as I planned making it the perfect car for me to be racing. Although my car was not successful in the Championships losing to Lachlan channell's car ever so slightly, I believe this unit of HELICARS was a really fun and enjoyable because of the unique designs and innovative techniques used to help craft and modify my HELICAR.
